
Adding powerpoints to a Queenslander: how to do it without ruining the floors
Queenslanders look beautiful and were wired terribly. Here's how to add powerpoints to one without lifting every floorboard or chasing every wall.
Queenslanders are the prettiest homes in Brisbane and the most painful to wire. Single-skin tongue-and-groove walls, no wall cavities to fish through, original VEV wiring still in the roof, and a floor that's usually sitting on stumps with another room built in underneath. Here's how I do them properly.
Queenslander wiring 101
A traditional Queenslander has:
- Tongue-and-groove single-skin internal walls, there's no cavity behind the boards, the boards are the wall.
- Original VEV / cotton-sheath wiring in the roof from the 30s-50s. Almost always due replacement.
- A high ceiling and a deep underfloor space, ironically the two best places to run new cable.
- Timber floors that show every nail and gap, patching is visible.
What makes them tricky
- You can't fish through walls because there's no cavity.
- You can't take up boards without splintering them.
- You can't cut chases into the boards without ruining the look.
- The original wiring is often perished and unsafe to work near.
- Heritage / character protections may apply in some streets.
So the question is, where can you run cable?
The Voltech approach
For 90% of Queenslander GPO additions, the right answer is:
- Drop the cable down from the roof space through the wall plate at the top of the wall.
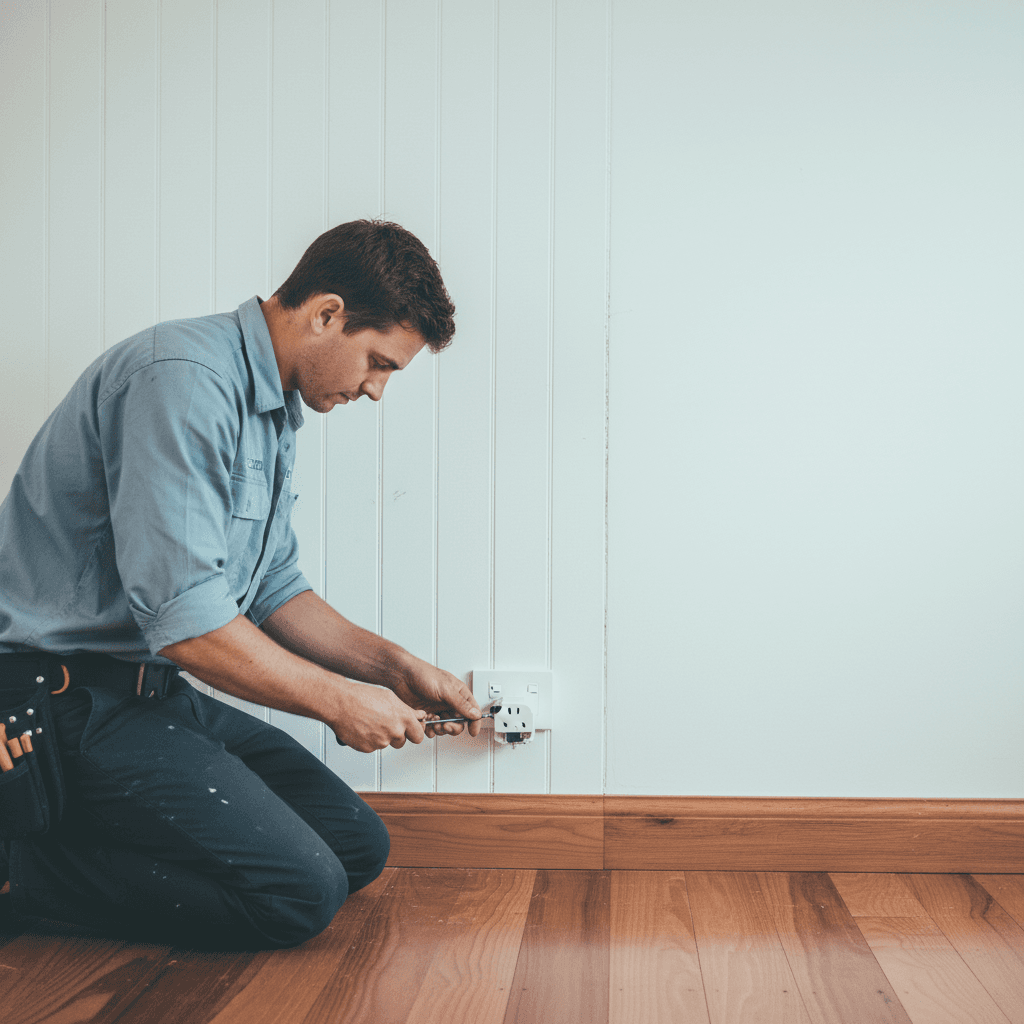
- Run it inside the wall vertically, for skirting-mount or chair-rail-mount outlets we can usually drop down behind a stud and exit at floor level.
- For mid-wall outlets (e.g. kitchen splashbacks), come down a stud cavity (yes, even single-skin walls have stud cavities, they're just narrow and require careful work).
- For floor-level GPOs at exterior walls, run from underneath through the floor plate.
We use a 4mm timber-shoe drill for the cleanest possible exit hole, and we patch with matching tongue-and-groove and stain to match.
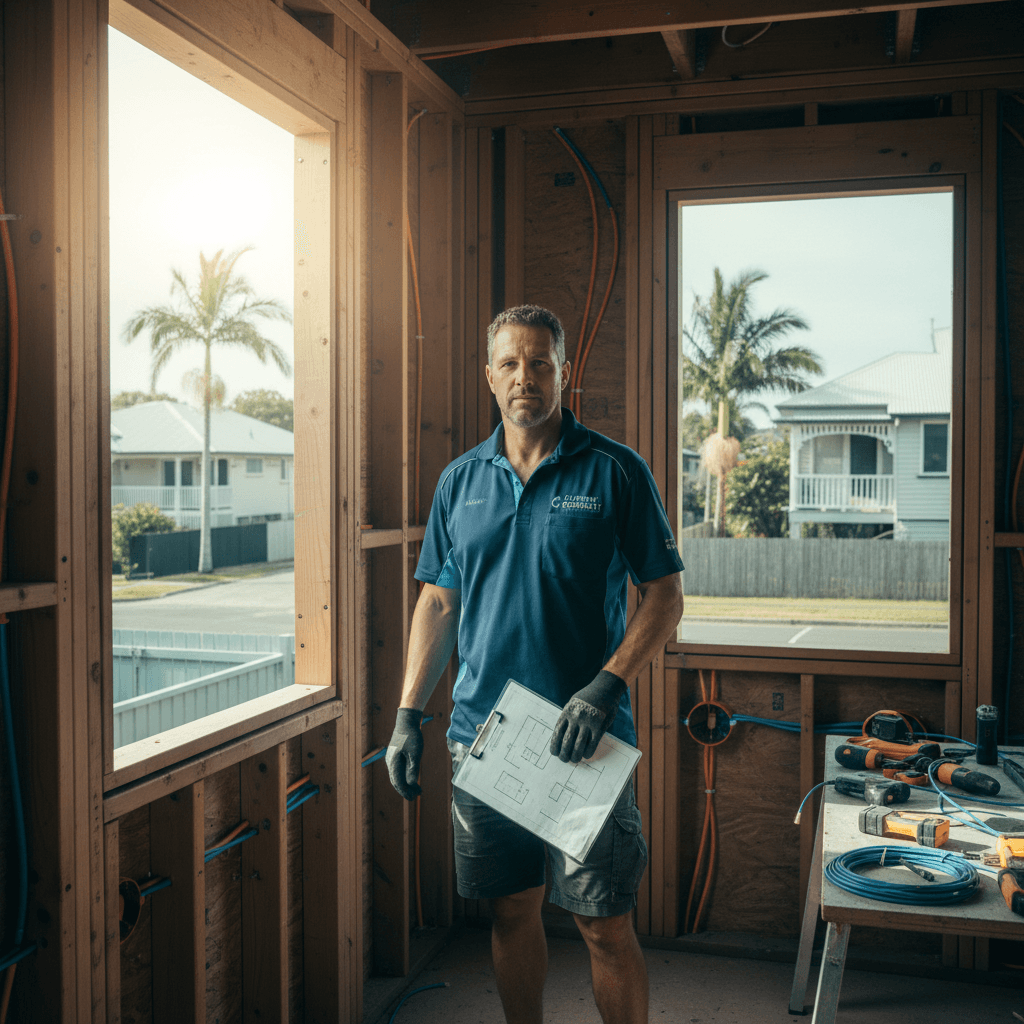
A real Bulimba job
A Bulimba renovation client wanted 8 new powerpoints in a 1928 Queenslander. 3 in the kitchen, 2 in the master bedroom, 1 in the lounge, 2 outside on the deck.
Plan:
- Kitchen, drop down from the roof, run behind the new tile splashback (still being installed), exit at bench height.
- Master bedroom, drop from the roof, exit behind bed and behind a wall lamp.
- Lounge, drop from the roof, exit at skirting board height.
- Deck, run through the floor plate, out into the underfloor, up into the deck post.
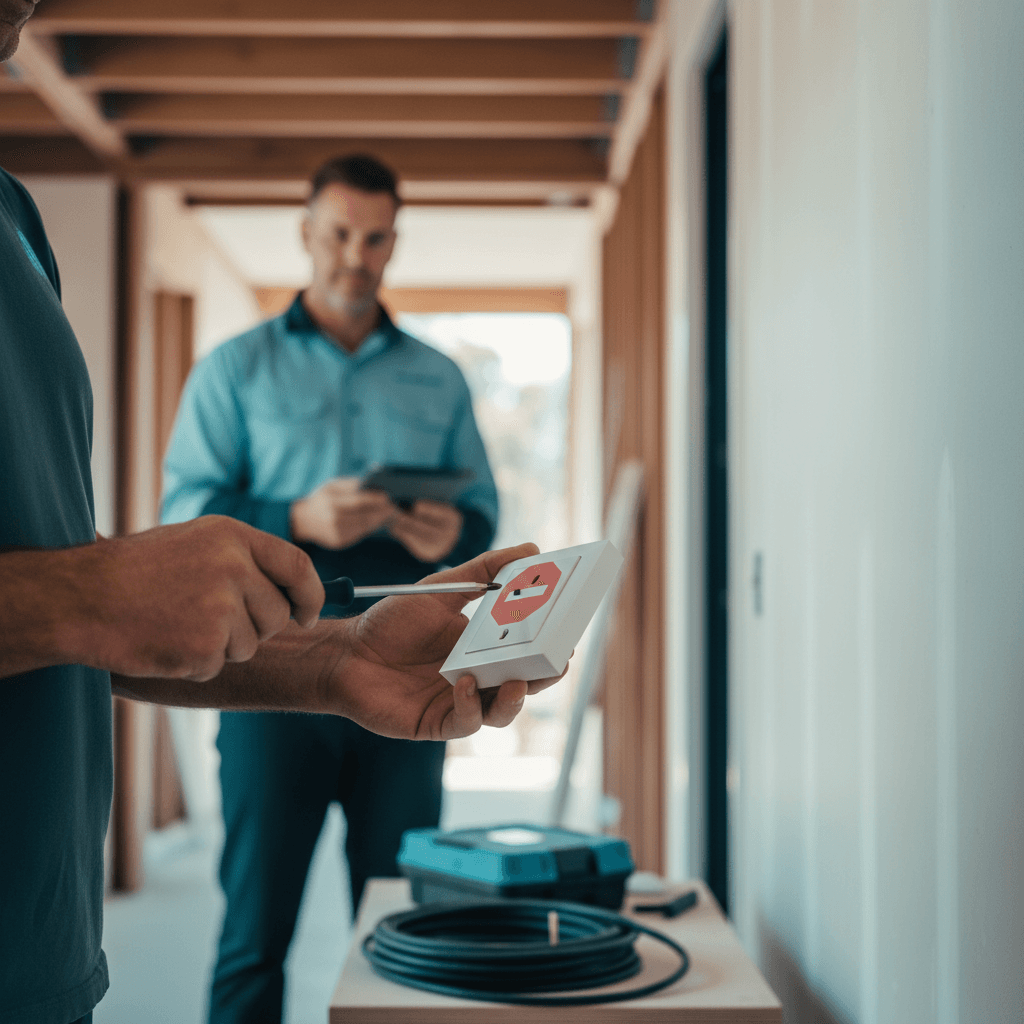
Total job: 7 hours, 1 visit, $1,890 fitted, all old VEV in the roof flagged for a separate rewire conversation.
The kitchen GPOs were ready before the splashback tiler arrived. The bedroom GPOs are invisible behind the bed. The deck GPO is in a custom timber post mount and weatherproof.
If you've got a Queenslander you want to add power to without ruining it. book a Voltech quote, or call 0411 054 811. We do these every week and we know what we're doing.
, John
I'm John, local Camp Hill sparky, fully licensed, fixed-price quotes, lifetime workmanship warranty. Ring me direct on 0411 054 811 or send a quick message.
Keep reading
Renovation electrical checklist for Brisbane homes (the one your builder won't give you)
What to think about *before* the walls go back up. The 12-point electrical checklist for Brisbane renovations, from powerpoint locations to data cabling.
DIY electrical work in QLD: what's legal, what's not, and what'll get you fined
QLD has some of Australia's strictest electrical-DIY laws. Here's what you can do as a homeowner, what you can't, and the actual penalties.